How to style Label Widget with counter
September 14, 2016
January 12, 2018
How to do this tutorial
Before you do this tutorial, I recommend you to back up your Blogger template, you can see How to back up and restore blogger templateStep 1
Log in to Blogger.comStep 2
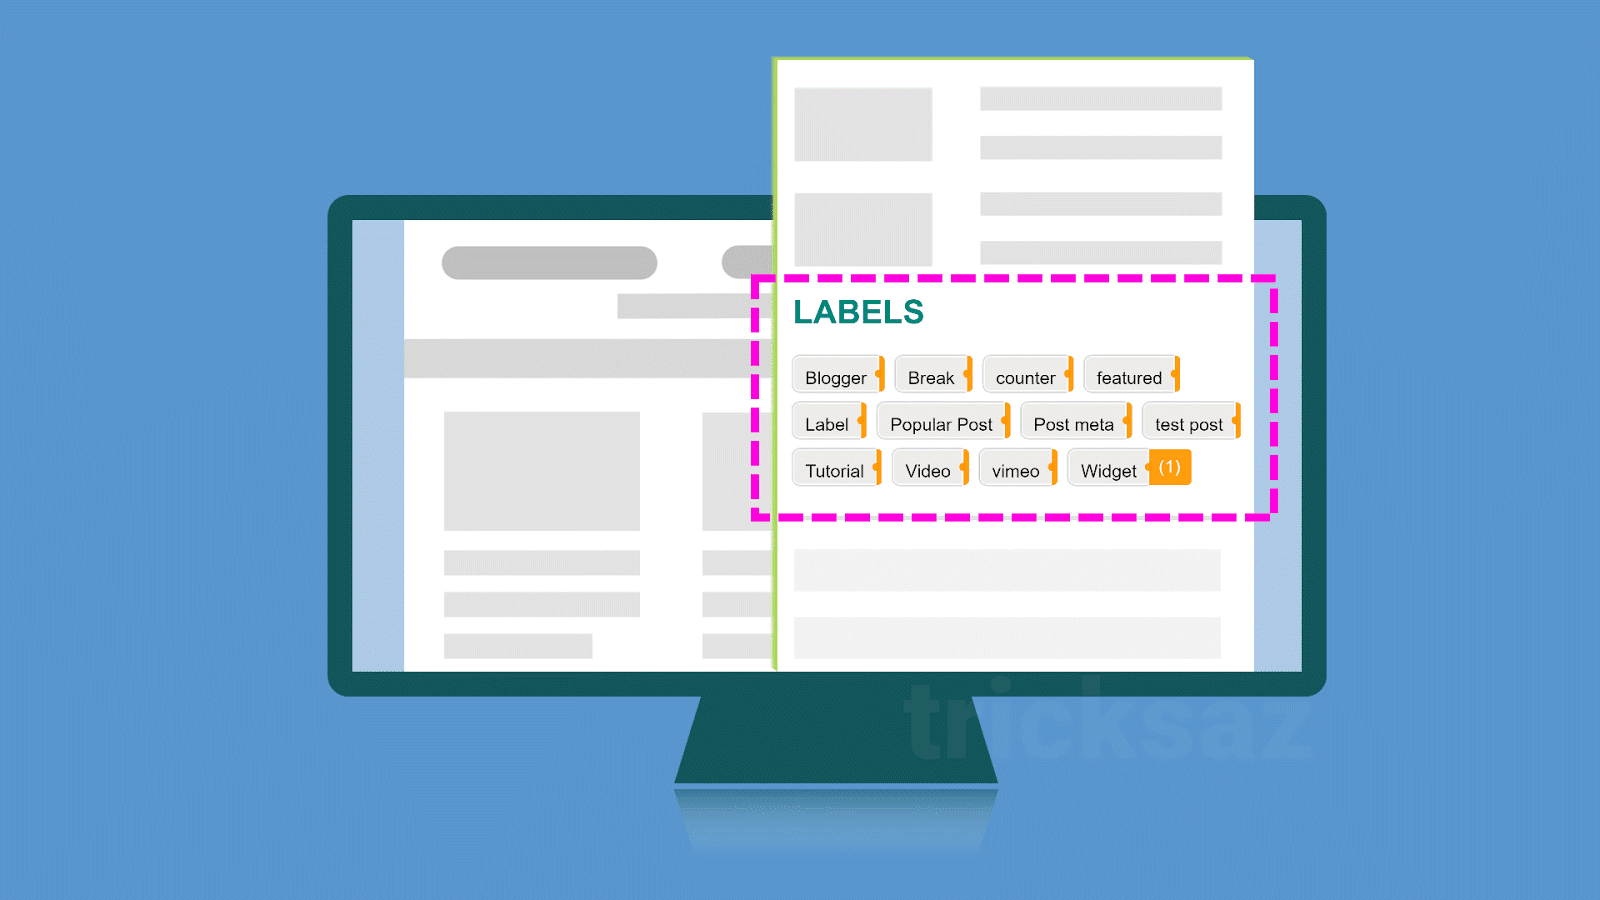
After log in, select Layout ➔ Add a Gadget (See How to Add Gadgets - Widgets to Blogger)Add Widget Labels

And Set up this Widget like following image:

Step 3
Back to your Blog Dashboard, Seclect Template ➔ Edit HTML#1. Search code
</head>, and paste following CSS right above that code:
<style type='text/css'>
ul .label-show {margin:0 auto;padding:0}
.label-show{list-style:none}
.label-show:before,.label-show:after{content:"";display:table}
.label-show:after{clear:both}
.label-show li{position:relative;float:left;margin:0 12px 8px 0}
.label-show li:active{margin-top:1px;margin-bottom:7px}
.label-show li:after{content:'';z-index:3;position:absolute;top:10px;right:-2px;width:5px;height:6px;opacity:.95;background:#FF9800;border-radius:3px 0 0 3px}
.label-show a,.label-show span{display:block;box-sizing:border-box}
.label-show a{height:26px;font-size:13px;color:#000;border-radius:5px 0 0 5px;background:#efece9;border:1px solid #fafafa;box-shadow:0 0 3px rgba(0,0,0,.4);padding:3px 8px}
.label-show a:hover span{max-width:40px;padding:0 7px 0 6px}
.label-show span{position:absolute;top:0;left:100%;z-index:2;overflow:hidden;max-width:0;height:26px;line-height:23px;opacity:.95;color:#fff;text-shadow:0 -1px rgba(0,0,0,0.3);border:1px solid #FF9800;border-radius:0 3px 3px 0;background-color:#FF9800;transition:all .3s ease-out;padding:0 0 0 2px}
</style>
#2. Then, find code like bellow:
 <b:widget id='Label1' locked='false' title='Labels' type='Label' visible='true'>
            <b:includable id='main'>

              ....................

            </b:includable>
</b:widget> <b:widget id='Label1' locked='false' title='Labels' type='Label' visible='true'>
<b:includable id='main'>
<b:if cond='data:title != ""'>
<h2><data:title/></h2>
</b:if>
<div expr:class='"widget-content " + data:display + "-label-widget-content"'>
<b:if cond='data:display == "list"'>
<ul class='label-show'>
<b:loop values='data:labels' var='label'>
<li>
<b:if cond='data:blog.url == data:label.url'>
<span expr:dir='data:blog.languageDirection'><data:label.name/></span>
<b:else/>
<a expr:dir='data:blog.languageDirection' expr:href='data:label.url'><data:label.name/><span class='label-count' dir='ltr'>(<data:label.count/>)</span></a>
</b:if>
<b:if cond='data:showFreqNumbers'>
<span dir='ltr'>(<data:label.count/>)</span>
</b:if>
</li>
</b:loop>
</ul>
<b:else/>
<b:loop values='data:labels' var='label'>
<span expr:class='"label-size label-size-" + data:label.cssSize'>
<b:if cond='data:blog.url == data:label.url'>
<span expr:dir='data:blog.languageDirection'><data:label.name/></span>
<b:else/>
<a expr:dir='data:blog.languageDirection' expr:href='data:label.url'><data:label.name/></a>
</b:if>
<b:if cond='data:showFreqNumbers'>
<span class='label-count' dir='ltr'>(<data:label.count/>)</span>
</b:if>
</span>
</b:loop>
</b:if>
</div>
</b:includable>
</b:widget>
0 comments for How to style Label Widget with counter